A perfect PCB stirrer for a maker
A perfect PCB stirrer for a maker
Arduino Team — May 1, 2023

There are a few approaches to making your own PCBs at home, and perhaps one of the more interesting but potentially tedious methods is to make a UV resistant mask and then etch the areas without copper with an acid bath. This etching step requires constantly moving the acid across the surfaces of the board for up to 30 minutes at a time, so Earl Daniel Villanueva made a small machine to handle this automatically.
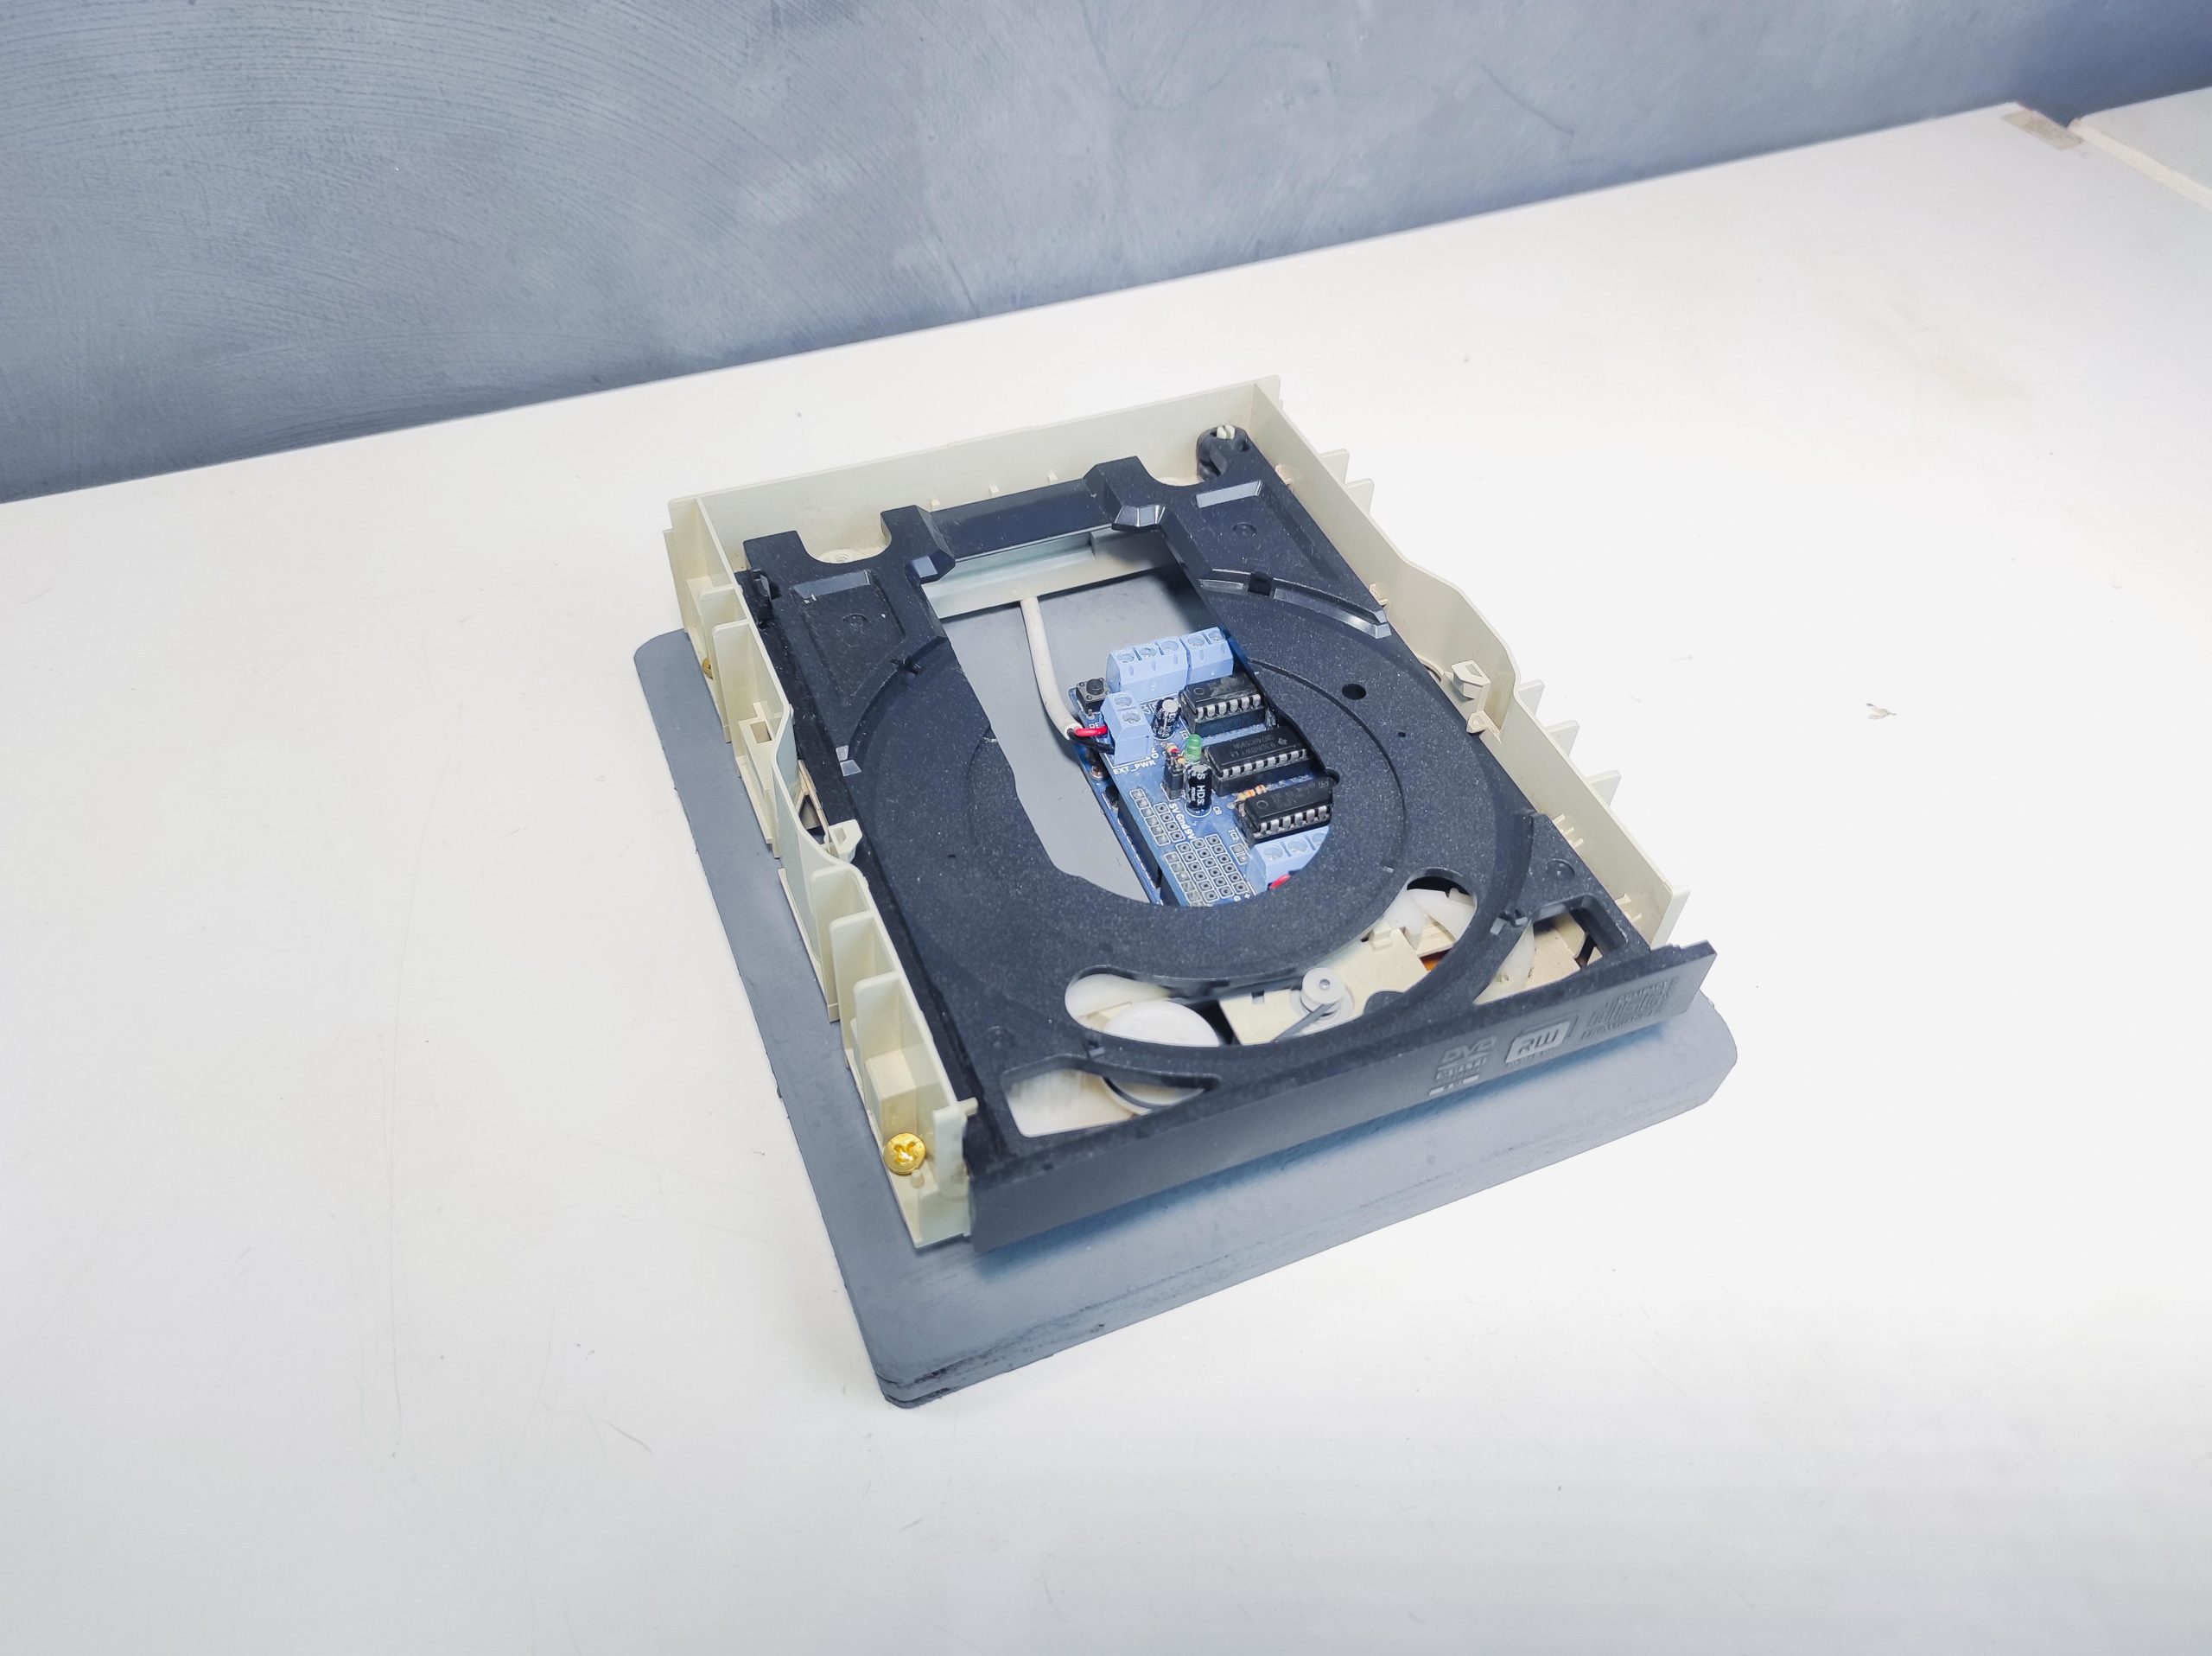
Villanueva started by gathering an old CD-ROM drive, an Arduino Uno, an Adafruit Motor Shield, and a 5V power supply. The disk drive was chosen not only because it had an easily accessible DC motor, but also because the disk ejection assembly could move in or out quickly. After unsoldering the motor from the drive motherboard and connecting it to the motor shield, he wrote a simple sketch for the Arduino that made the motor oscillate quickly between directions, creating the desired jerking motion. /p>

Satisfied with the electronics, he then moved on to building a base plate from scrap wood and mounted the reader on top. Finally, he attached a plastic container filled with acid to the drive platter and watched as it continuously swirled the solution over the PCB, resulting in a clean finished product.
For more, you can read Villanueva's essay here on Instructables.
Arduino Team — May 1, 2023
There are a few approaches to making your own PCBs at home, and perhaps one of the more interesting but potentially tedious methods is to make a UV resistant mask and then etch the areas without copper with an acid bath. This etching step requires constantly moving the acid across the surfaces of the board for up to 30 minutes at a time, so Earl Daniel Villanueva made a small machine to handle this automatically.
Villanueva started by gathering an old CD-ROM drive, an Arduino Uno, an Adafruit Motor Shield, and a 5V power supply. The disk drive was chosen not only because it had an easily accessible DC motor, but also because the disk ejection assembly could move in or out quickly. After unsoldering the motor from the drive motherboard and connecting it to the motor shield, he wrote a simple sketch for the Arduino that made the motor oscillate quickly between directions, creating the desired jerking motion. /p>
Satisfied with the electronics, he then moved on to building a base plate from scrap wood and mounted the reader on top. Finally, he attached a plastic container filled with acid to the drive platter and watched as it continuously swirled the solution over the PCB, resulting in a clean finished product.
For more, you can read Villanueva's essay here on Instructables.
What's Your Reaction?