How to Build a Low-Cost Low-Resolution Thermal Camera with Arduino
How to Build a Low-Cost Low-Resolution Thermal Camera with Arduino
Arduino Team — August 9, 2023

Thermal cameras are very useful tools because they allow us to see heat that would normally be invisible to our eyes. Maybe you're working on a custom PCB and want to see if any of the components are generating excessive heat. Or maybe you're worried that your car's exhaust manifolds aren't heating up evenly and you want to see what's going on. Thermal cameras tend to be expensive, but Vaclav Krejci (AKA upir on YouTube) has a video on how you can build your own low-res thermal camera without breaking the bank.
Krejci's design only has an 8×8 resolution, which is the maximum native output of the AMG8833 infrared sensor array. By conventional digital camera standards, this is too low to be usable. But it's enough for some simple tasks you might want to do with a thermal imaging camera. At this resolution, the device will act almost like a non-contact thermometer showing you 64 points. You can identify hot IC chips and even see significant thermal currents.
The only components you need to replicate Krejci's design are an Arduino UNO Rev3 board, an AMG8833 infrared sensor module, and an 8×8 RGB LED matrix (Krejci used a Sunfounder model). The sketch gathers the 64 values from the infrared sensor, then uses them to set the hue of each pixel in the LED matrix. Colorduino library allows you to set pixel colors using HSV model (Hue, Saturation, Value), which makes it easy to change color by adjusting the hue of each pixel.
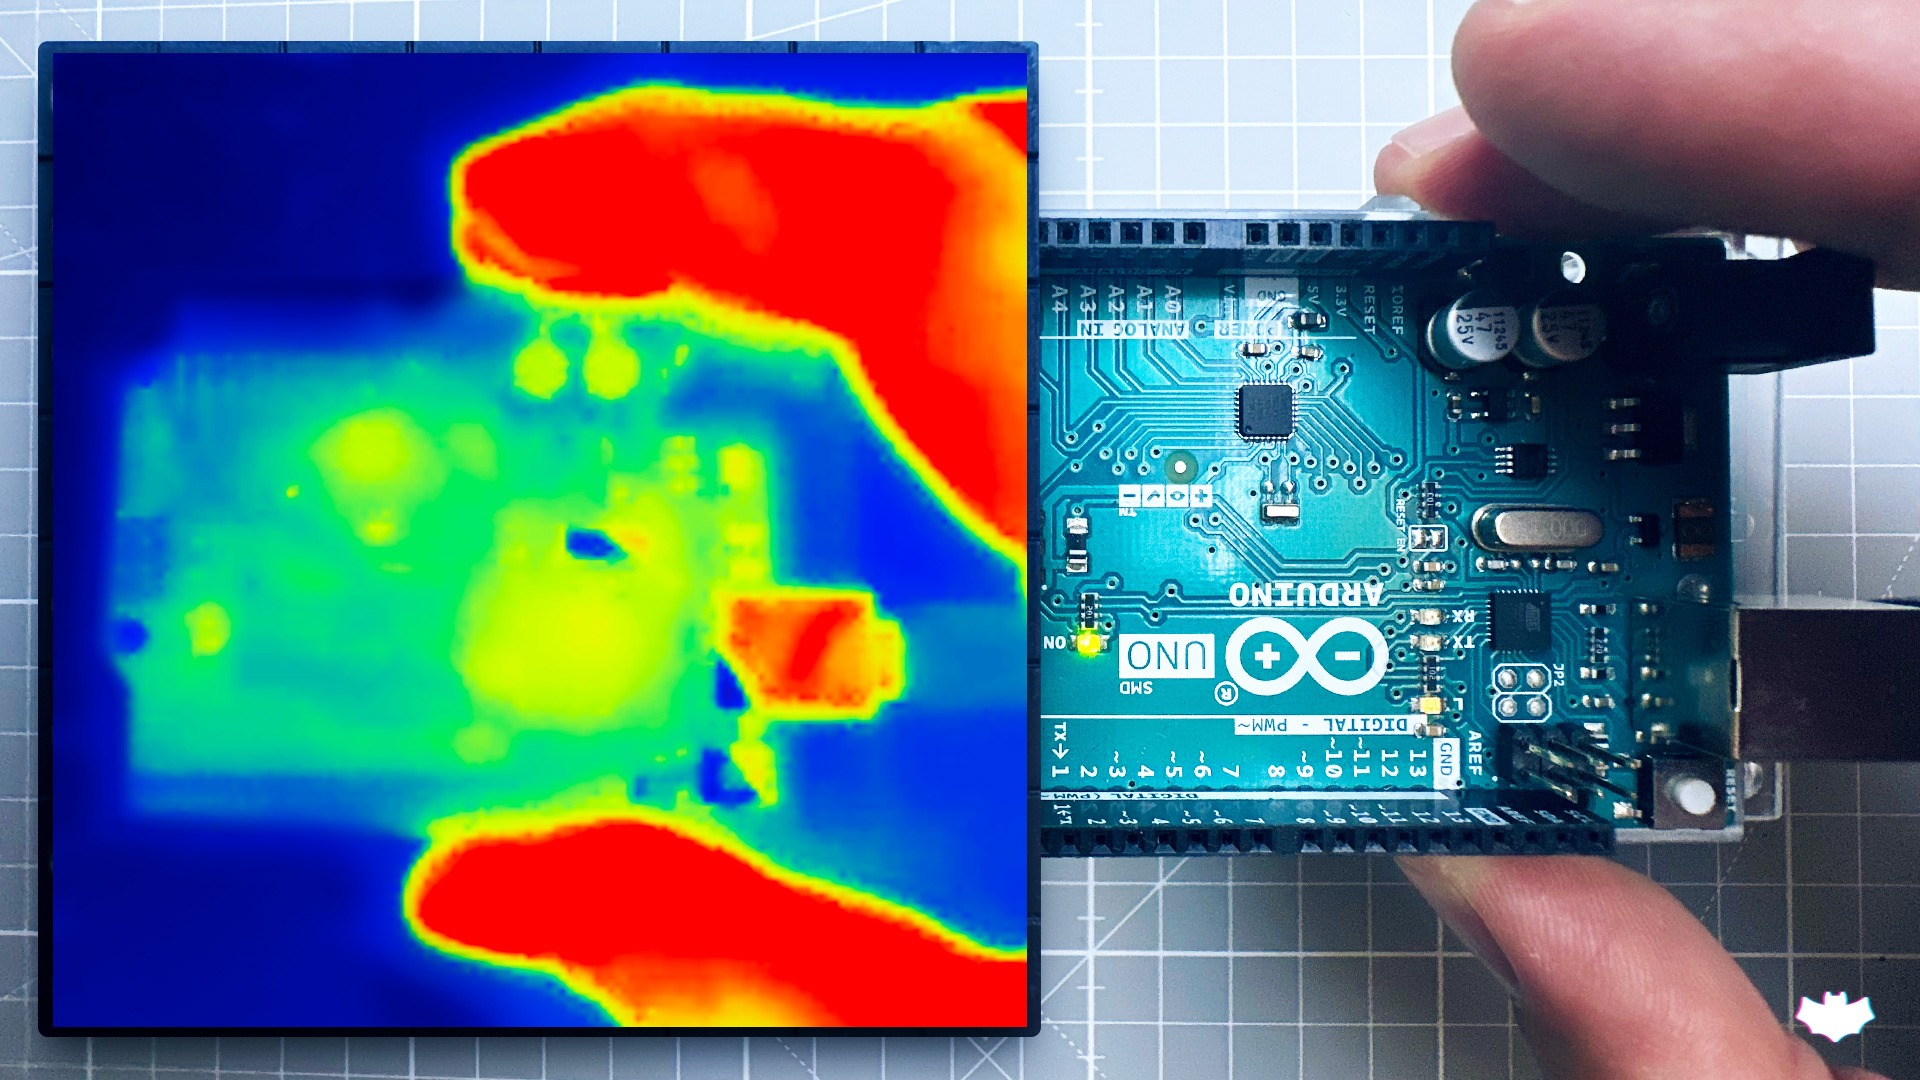
The result is an LED screen that displays a heat map, with cold areas being blue and very hot areas being red. The resolution is low, but each pixel has decent precision.

Arduino Team — August 9, 2023

Thermal cameras are very useful tools because they allow us to see heat that would normally be invisible to our eyes. Maybe you're working on a custom PCB and want to see if any of the components are generating excessive heat. Or maybe you're worried that your car's exhaust manifolds aren't heating up evenly and you want to see what's going on. Thermal cameras tend to be expensive, but Vaclav Krejci (AKA upir on YouTube) has a video on how you can build your own low-res thermal camera without breaking the bank.
Krejci's design only has an 8×8 resolution, which is the maximum native output of the AMG8833 infrared sensor array. By conventional digital camera standards, this is too low to be usable. But it's enough for some simple tasks you might want to do with a thermal imaging camera. At this resolution, the device will act almost like a non-contact thermometer showing you 64 points. You can identify hot IC chips and even see significant thermal currents.
The only components you need to replicate Krejci's design are an Arduino UNO Rev3 board, an AMG8833 infrared sensor module, and an 8×8 RGB LED matrix (Krejci used a Sunfounder model). The sketch gathers the 64 values from the infrared sensor, then uses them to set the hue of each pixel in the LED matrix. Colorduino library allows you to set pixel colors using HSV model (Hue, Saturation, Value), which makes it easy to change color by adjusting the hue of each pixel.
The result is an LED screen that displays a heat map, with cold areas being blue and very hot areas being red. The resolution is low, but each pixel has decent precision.
What's Your Reaction?


