Turn a 3D printer into a four-axis camera slider

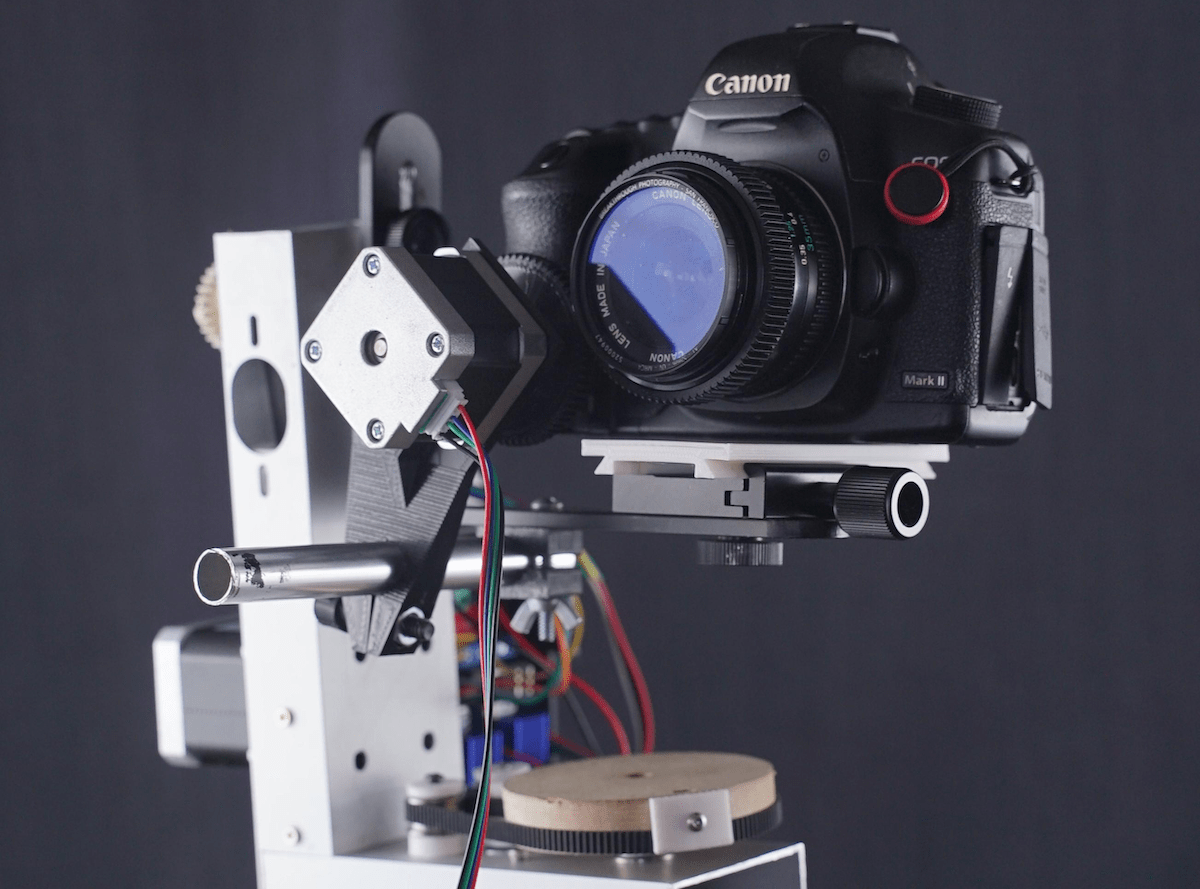
When creating videos, performing smooth, level movements at a constant speed is often a very important requirement, as sudden changes can make viewers uncomfortable. But rather than buy an expensive gimbal-stabilized rig or commercial motorized camera rig, Instructables user dslrdiy decided to design his own four-axis system using a 3D printer. reused in order to be able to control it easily via a telephone.
The old 3D printer already contained most of the parts for this build, such as several stepper motors, a controller board, and a lot of miscellaneous hardware. The main axis at the base allows the main assembly to move from side to side with a single stepper motor, while the other three axes sit on top. These include tilt up and down, rotation around the Z axis, and roll.
Controlling all these motors is an Arduino Mega 2560 running an instance of RAMPS firmware, which interprets incoming GCODE commands into physical movements. And because it has no way to communicate via Bluetooth®, an external ESP32 acts as a remote control to collect inputs from its physical buttons or from a connected phone. Combined, these devices can be used to set limits and rates for each axis which can, in turn, easily create amazing time-lapse videos.
To learn more about this project, you can read dslrdiy's description here.
What's Your Reaction?