How to Use the Apple Mac Split View Screen Feature


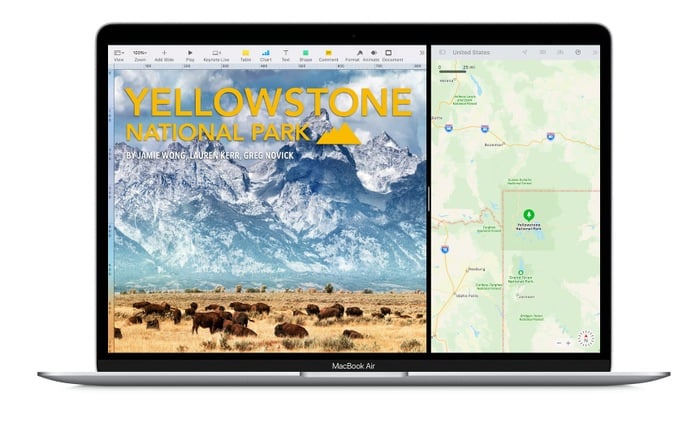
If you own an Apple Mac computer and want to know how to use the new Split View feature Apple is rolling out in its macOS operating system. This quick guide will tell you how to split screen on Mac if you're using Apple macOS Catalina or later. The handy Mac Split View lets you fill your screen with two apps without having to manually move and resize Windows.
Apple has also made this feature available on its line of iPad tablets running iPadOS. Allowing you to quickly reference other documents alongside your favorite word processing or writing application or simply reference maps or other applications while taking notes on the other side of the screen. /p>


The first thing to check if you're wondering how to use split view is to make sure you have "Screens have separate spaces". in the Apple Menu > System Preferences > Mission Control section, making sure this option is enabled. Once you have checked to enter Split View, simply:
1. Simply hover your mouse pointer over the full screen button in the left corner of a software application window on your Mac. It's the green circle with arrows pointing to the upper left and lower right corners of your screen, normally used to maximize your window.
2. Once you hover over the green circle, options will appear allowing you to enter full screen mode, tile the window to the left of the screen, or tile the window to the right of the screen.
3. Select the side you want to split the app on and repeat the process on the second app you want to split your screen with. Simply click on a window on the other side of the screen to start using both side-by-side.
If you are using a Mac with an older operating system such as macOS Mojave, High Sierra, Sierra, or El Capitan.
1. Simply click and hold the full screen button (the green circle) located in the upper left corner of the Windows application.
2. Drag the edge of the window to the left or right of the screen
3. Once on the side of the computer, you want to position the application, sim...
If you own an Apple Mac computer and want to know how to use the new Split View feature Apple is rolling out in its macOS operating system. This quick guide will tell you how to split screen on Mac if you're using Apple macOS Catalina or later. The handy Mac Split View lets you fill your screen with two apps without having to manually move and resize Windows.
Apple has also made this feature available on its line of iPad tablets running iPadOS. Allowing you to quickly reference other documents alongside your favorite word processing or writing application or simply reference maps or other applications while taking notes on the other side of the screen. /p>
The first thing to check if you're wondering how to use split view is to make sure you have "Screens have separate spaces". in the Apple Menu > System Preferences > Mission Control section, making sure this option is enabled. Once you have checked to enter Split View, simply:
1. Simply hover your mouse pointer over the full screen button in the left corner of a software application window on your Mac. It's the green circle with arrows pointing to the upper left and lower right corners of your screen, normally used to maximize your window.
2. Once you hover over the green circle, options will appear allowing you to enter full screen mode, tile the window to the left of the screen, or tile the window to the right of the screen.
3. Select the side you want to split the app on and repeat the process on the second app you want to split your screen with. Simply click on a window on the other side of the screen to start using both side-by-side.
If you are using a Mac with an older operating system such as macOS Mojave, High Sierra, Sierra, or El Capitan.
1. Simply click and hold the full screen button (the green circle) located in the upper left corner of the Windows application.
2. Drag the edge of the window to the left or right of the screen
3. Once on the side of the computer, you want to position the application, sim...
What's Your Reaction?